
[Buying guides]
Hot Fill vs Cold Fill on a Bottle Line: Temperature, Vacuum and Cap Seal Checks
Hot fill needs a package that tolerates heat and the pressure change during cooling. Cold fill needs a defined preservation and storage route. Compare the bottle, cap seal and connected stations before choosing the line.
Updated October 2026
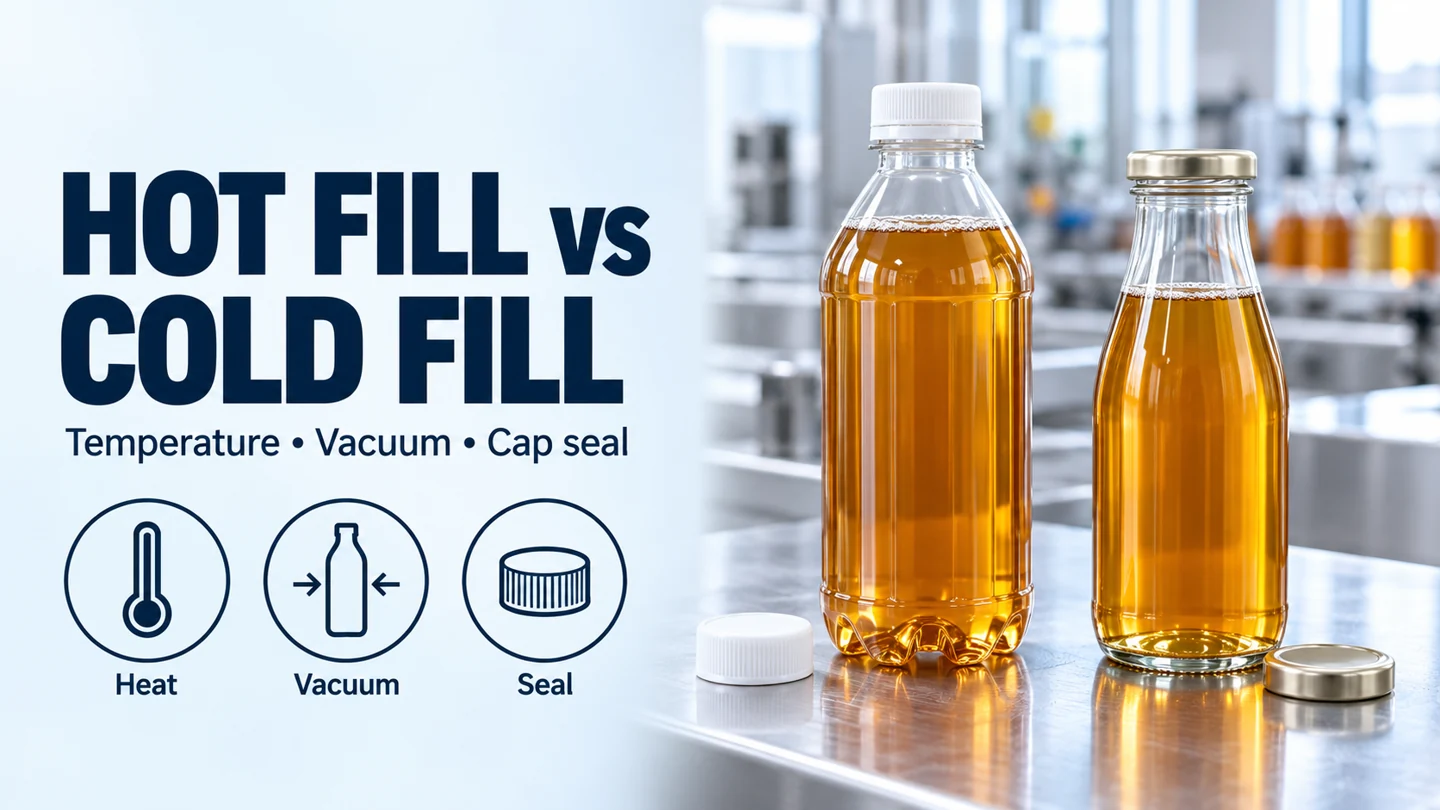
Start with these three checks
Scroll across to read all three columns.
| Check | Hot fill | Cold fill |
|---|---|---|
| Product condition | Specified temperature at filling and any hold | Specified ambient/chilled fill and preservation route |
| Bottle response | Heat plus the sealed cooling cycle | Filling, processing and distribution conditions |
| Cap seal | Application and post-cooling package checks | Application and storage-specific package checks |
Choose the process before the bottle line
Hot fill vs cold fill bottling starts with the product condition at filling. Hot fill puts heated product into a heat-compatible package; cooling then changes the pressure inside the sealed bottle. Cold fill uses ambient or chilled product and requires a preservation and storage route suited to that product. Cold filling can follow upstream heat treatment. Filling under sterile product, packaging and environmental conditions is a separate process from simply filling a product cold.
We use the established product process and bottle-cap specification to discuss the connected line. Your process specialist defines preservation, hold conditions and product release; we use those requirements to identify equipment interfaces. The comparison below helps you prepare a bottle, temperature and seal brief before requesting a proposal.
Hot-fill and cold-fill requirements side by side
Compare the same product and package requirements on both routes. Changing the filling temperature can also change the bottle, closure treatment, cooling equipment and acceptance checks.
| Decision point | Hot fill bottling line | Cold fill bottling line |
|---|---|---|
| Product at filling | Maintain the specified fill condition after product heating; distinguish it from any subsequent hold requirement. | Specify ambient or chilled filling and any upstream processing; identify the preservation route. |
| Bottle and finish | Qualify the bottle and neck for product heat and the pressure change during cooling. | Qualify the bottle for filling, sealing and distribution conditions, including any later processing. |
| Headspace and closure | Control fill quantity, headspace and seal application; establish final vacuum where the package uses it. | Control fill quantity, headspace and seal application for the intended temperature and storage route. |
| Closure treatment and hold | Place any specified inversion or other closure treatment within the required time-temperature sequence. | Provide the specified container/closure preparation and hold stages; cold-fill-hold can also require inversion. |
| Downstream conditions | Provide the required cooling route and assess the cooled bottle and seal. | Provide the prescribed holding or chilled-storage route and package checks. |
| Failure to prevent | Heat distortion, uncontrolled paneling or leaks after cooling: qualify the whole bottle-cap pair and check after cooling. | Wrong preservation route or poor closure application: establish process requirements and package acceptance before production. |
Which temperature belongs in the specification?
Record upstream treatment temperature, temperature at filling and any required hold condition separately. A heater setting does not establish the condition of the product when it enters the bottle, and a fill reading does not establish the lowest temperature reached during a hold.
The University of Georgia’s hot-fill-hold guide, Circular 1328-03, published in June 2025, explains that product cools during the hold and that the hold temperature is generally its final or lowest temperature. Its guidance addresses flowable acid or acidified foods. For line planning, identify the measurement locations and how the process handles a delay between filling, closure treatment and cooling.
Cold filling also needs a defined process. The University of Wisconsin’s Cold-Fill-Hold Processes for Acid or Acidified Foods and Beverages, January 2024, describes formulation-specific routes that include pasteurization, cooling before filling, and a controlled hold. Its example sequence includes inversion. Specify the actual product process before deciding which stations can be omitted.
Separate bottle heat resistance from cooling vacuum
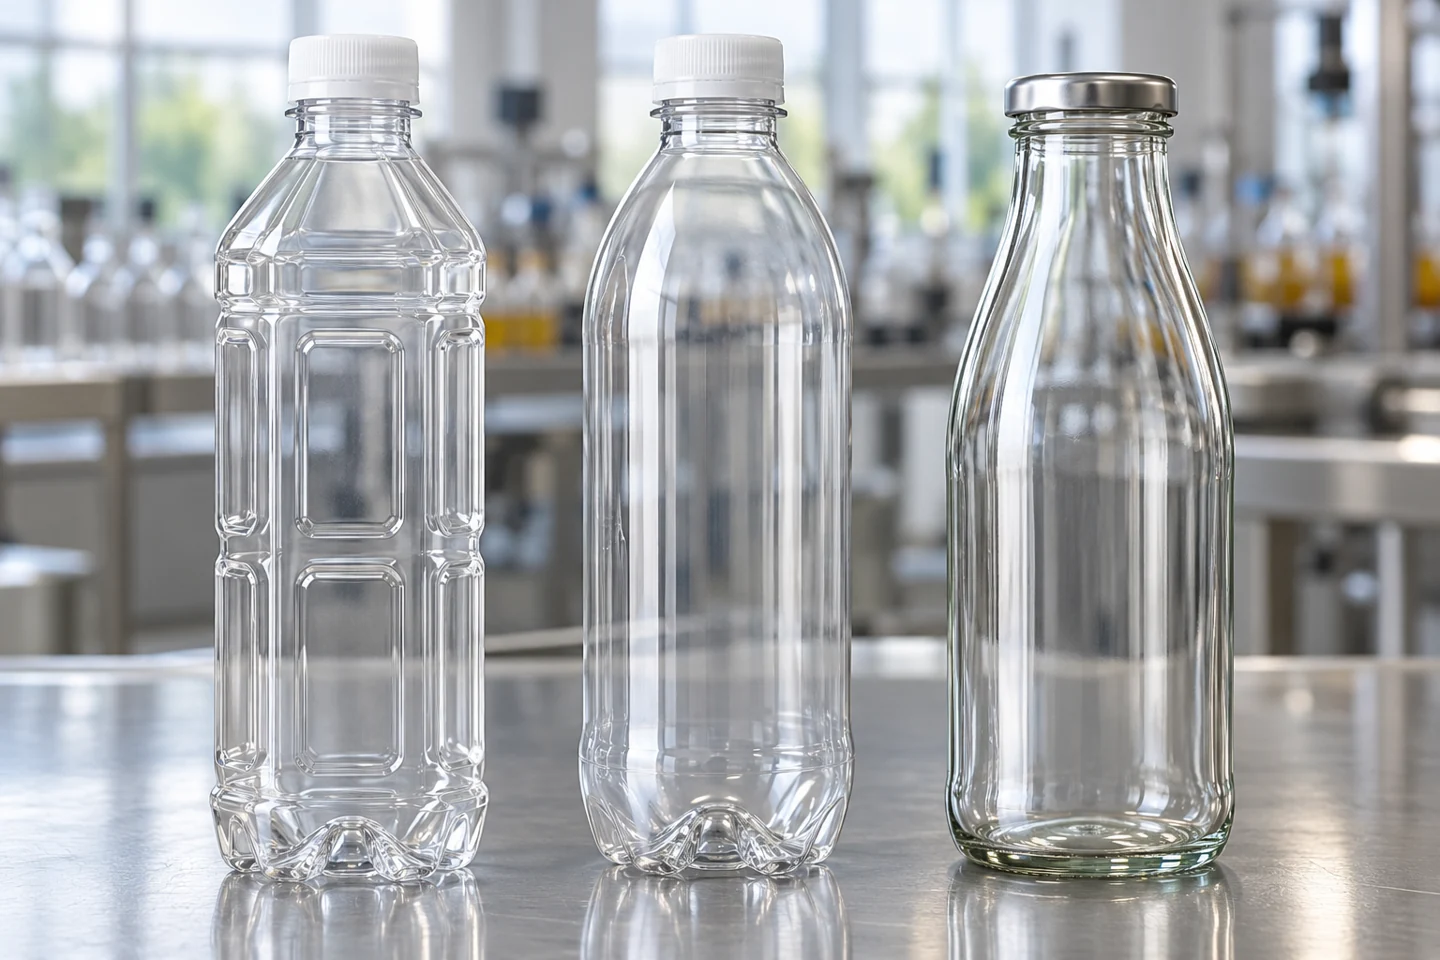
A hot-fill bottle must tolerate both the initial heat and its sealed cooling cycle. As the product cools and contracts, pressure inside the package can fall below the surrounding atmospheric pressure. That pressure difference loads the bottle wall. A bottle can survive filling yet distort later if its structure is unsuitable for the resulting vacuum.
Graham Packaging’s Product Fill Types guidance identifies heat and cooling vacuum as hot-fill packaging requirements. Its Active Base description shows that vacuum management can be designed into the base as well as the sidewall. Panels or ribs are therefore useful features to identify, but appearance alone cannot qualify a bottle. An ordinary lightweight cold-fill PET bottle needs qualification for the proposed hot process before it is substituted.
Glass requires a different check: the temperature change between the glass and its surroundings. AEGG’s Thermal Shock guidance explains how rapid temperature differences can cause breakage and how bottle preconditioning can reduce the differential at filling. Put the actual bottle supplier’s filling and cooling limits into the process brief.
Inspect the sidewall, base and neck together
What does cooling change at the cap seal?
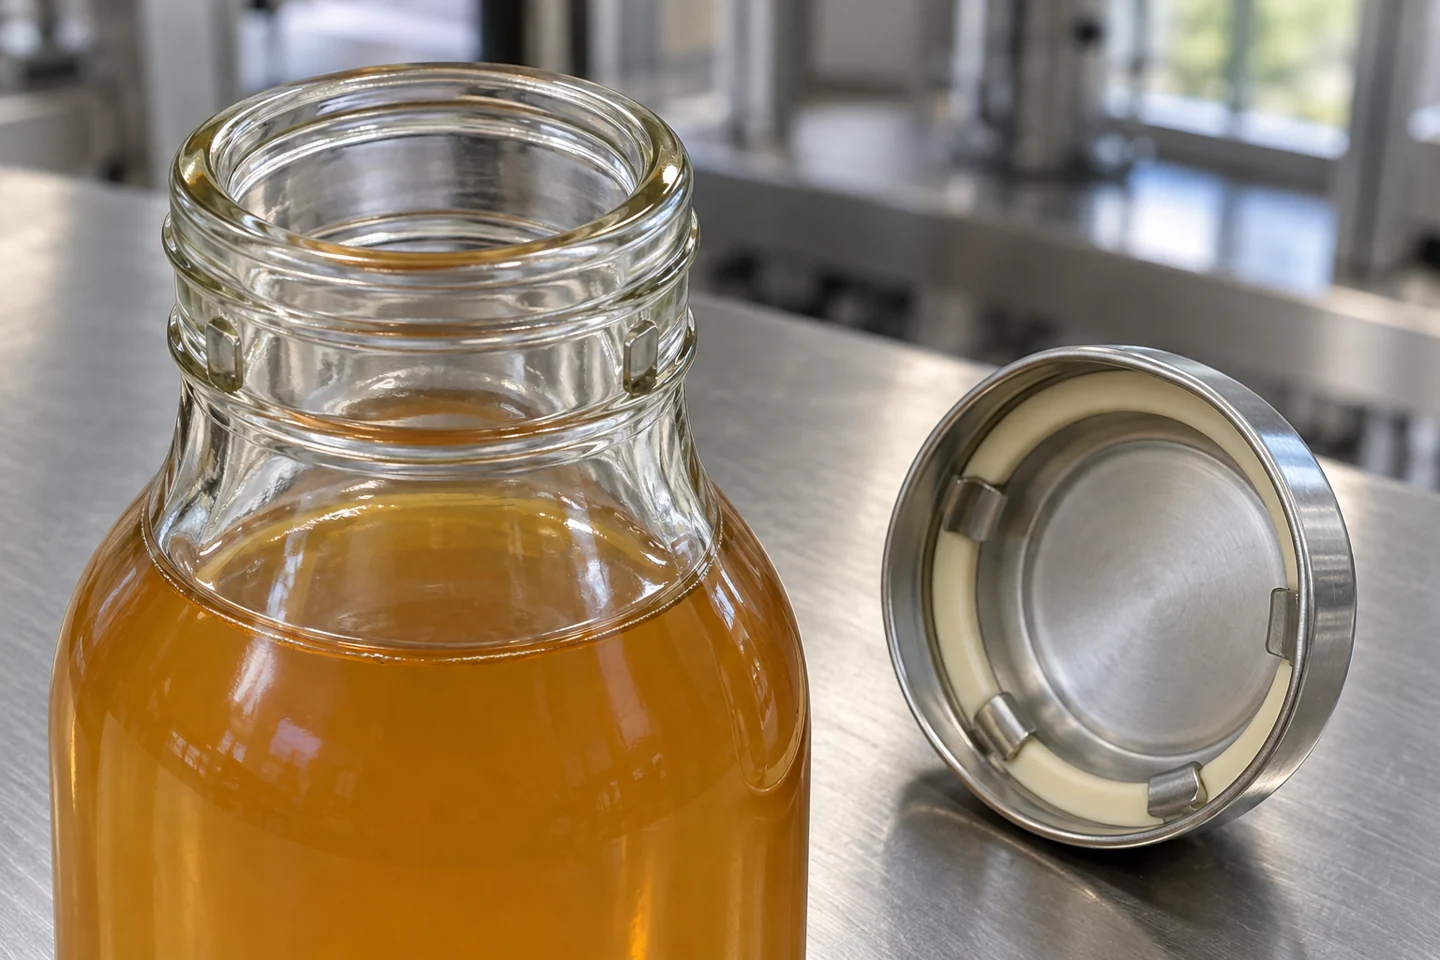
Check the sealing interface as well as the bottle wall. Product on the rim, damaged sealing material or a mismatched finish can compromise closure integrity. Consistent fill quantity also matters because headspace is the space above the liquid in the sealed pack, and it affects the final pressure condition.
Silgan’s Steel Closure Button Guidelines, TAB 0020 Rev E, identifies sealing temperature, headspace, air in the product and capping performance as factors in final vacuum. A button closure has its own required vacuum conditions. A depressed button shows a response to pressure; seal acceptance also needs the checks specified for that exact cap and finish.
Application torque is the input used to tighten a threaded cap. Removal torque is measured when opening the package after a defined interval. Keep these readings separate and include the closure supplier’s leak or retention criteria. For feeding, bottle restraint and torque-method details, use our automatic capping machine integration guide.
Keep the top sealing surface and cap compound in view
Place the required hold and cooling stages in the layout
A hot-fill layout may run from filling to capping, specified hold or closure treatment, cooling and package checks. The sequence and residence requirements come from the product process; an inverter belongs in the layout when that process calls for inversion.
| Interface | Hot-fill planning question | Cold-fill planning question |
|---|---|---|
| Product supply → filler | How is the required product condition maintained at the filler during running and interruptions? | What delivers the specified ambient or chilled product condition after any upstream processing? |
| Filler → capper | What delay is permitted before closing, and how are fill level and clean sealing surfaces maintained? | How are the required exposure conditions, headspace and closure application maintained? |
| Capper → treatment / hold | Where do the required closure contact, inversion and hold stages occur? | Which container/closure preparation and post-fill holding conditions belong to this process? |
| Treatment → next operation | What cooling method, temperature transitions and discharge condition are specified? | What holding or storage conditions apply before labeling, packing and distribution? |
| Conveyor interruption | How are packs delayed within the thermal sequence identified and handled? | How are packs affected by exposure or temperature delays identified and handled? |
Compare the complete equipment scope
Put product-temperature maintenance, closure treatment, cooling, conveyors, utilities and checks on the same station list as the filler and capper. These items change the footprint and operating requirements even when the filling mechanism appears similar. Assign an owner to each station and to the controls between them.
Our liquid filling lines page connects dosing, capping and labeling requirements. Use how to choose a filling line to add output, room layout and utility inputs to the temperature and packaging brief.
Check the package after capping and again after cooling
For hot-filled packs, inspect the closure at the application stage and assess the cooled package under defined conditions. Record the bottle and closure identifiers, elapsed time, product temperature, instrument, units and acceptance limits beside each result. That makes a torque or vacuum reading comparable with the specified method.
Silgan’s Plastic Closure Quality Checks, TAB 014 Rev C, issued April 22, 2022, provides a specific example for its plastic closures: post-capping hot-fill measurements within 1 minute, and post-cooling measurements immediately at cooler exit when product temperature is no greater than 80°F (27°C). The same bulletin places cold-fill removal-torque checks at least 10 minutes after capping. These are measurement conditions for that procedure, rather than a general cooler setting.
The bulletin also uses different combinations of checks for lined and linerless plug closures. Build the acceptance sheet around the actual closure type, including its seating, torque and integrity checks. Where final vacuum is specified, record the package temperature at measurement and evaluate the relevant storage conditions.
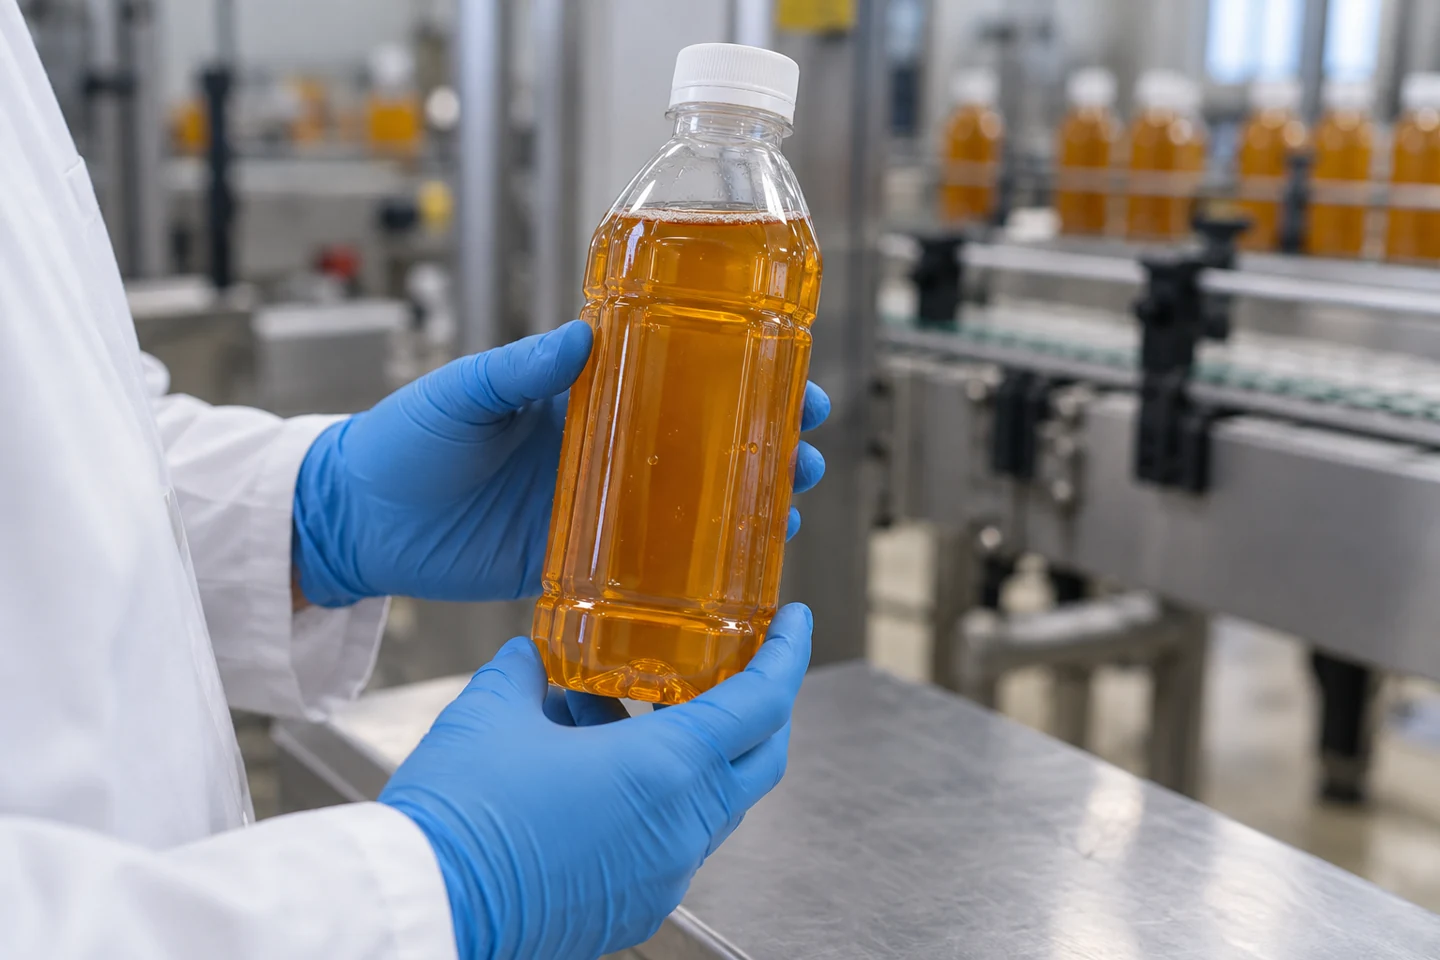
Assess the cooled bottle as a complete package
Use symptoms to choose the next check
Investigate the package and the process together. Each symptom below is a starting point for inspection, not a diagnosis by itself.
| Observed symptom | Check first | Prevention to establish |
|---|---|---|
| PET distortion after cooling | Compare bottle qualification, filling condition and cooled pressure with the actual pack; inspect wall and base response. | Qualify the heat and vacuum response together before changing bottle weight or geometry. |
| Glass breakage around filling or cooling | Review bottle condition and the temperature transitions at the affected station. | Use the bottle supplier’s thermal limits and required conditioning in the process design. |
| Leak at the cap after cooling | Inspect rim cleanliness, cap seating, sealing material and the matched finish; perform the specified integrity check. | Define application and post-cooling checks for the exact cap and bottle. |
| Unexpected button position | Review the closure’s vacuum requirement, measurement temperature, headspace and air entrainment. | Specify final package conditions and button requirements for storage and distribution. |
| Hold condition missed during a stop | Review the affected packs’ timing and temperature record against the established process. | Define interruption handling and disposition with the process owner before the run. |
Temperature, bottle and cap-seal checklist
Use this checklist to prepare the line discussion. Keep the product process, package specifications and inspection methods together so that each station is sized and assessed against the same requirements.
| Record to prepare | Details to include | Use in the line discussion |
|---|---|---|
| Product and preservation route | Product/formulation identification, established processing sequence and required storage conditions. | Sets the process that the equipment must support. |
| Temperature and hold | Temperature at filling and permitted variation; separate upstream treatment and any hold or inversion requirements. | Defines measurement points, timing and interruption questions. |
| Bottle qualification | Material, drawing/revision, neck finish, heat and pressure/vacuum qualification; glass thermal-transition limits where applicable. | Connects the container to filling, closing and cooling conditions. |
| Closure and seal | Cap part number, liner or sealing system, matched finish, application criteria and leak/retention method. | Defines the capper interface and acceptance checks. |
| Fill and headspace | Fill quantity and specified headspace with the measurement condition. | Controls the package condition entering the capper. |
| Cooled or stored package | Required final temperature/vacuum where applicable, inspection timing and storage route. | Defines the downstream observation and release record. |
| Connected equipment | Required treatment/cooling stations, station ownership, utilities and stop/restart handling. | Makes proposals comparable across the complete line. |
[Sources]
- UGA Circular 1328-03, June 2025: acidified-food hot-fill-hold sequence and temperature distinctions. fieldreport.caes.uga.edu/publications/C1328-03/preserving-acidified-foods-using-the-hot-fill-hold-process/
- University of Wisconsin, January 2024: formulation-specific cold-fill-hold processes. foodsafety.wiscweb.wisc.edu/wp-content/uploads/sites/1026/2024/02/ColdFill_2024.pdf
[Request]
Discuss your bottle and temperature requirements
Send the product filling temperature, bottle drawing, cap and liner details, and the required hold or cooling sequence on WhatsApp. We can use that brief to discuss the station scope and the information needed for a line proposal.
Our team reviews your product, container and line requirements with you.
[Keep planning]
- Liquid Filling LinesFoam, drip or a narrow bottle opening can make the wrong filler a poor fit. Start with liquid behavior and container dimensions, then match the filling and downstream stations.
- How to Choose a Filling LineChoose a filling line from the product and container, then define accepted output, the automation boundary, utilities and the stations supplied. The configuration review connects these requirements before equipment is built.
- Capping Machine IntegrationPoor cap engagement wastes filled bottles. Match an automatic capping machine to the closure, bottle restraint and cap feed, then define torque checks and line interfaces before comparing output.